Long-Fermented Sourdough Focaccia Bread
Focaccia bread is an Italian flatbread that is super simple to make and a mouthwatering bread to enjoy even if you don’t have much time on your hands. Because of the olive oil used in the bottom of the pan, the bread develops a beautiful crust that is crunchy yet soft as well as rich and buttery. Focaccia is my “go-to” bread (almost even more than bread loaves!) because it is so delicious, fast, easy and a crowd-pleaser. I hope you enjoy.
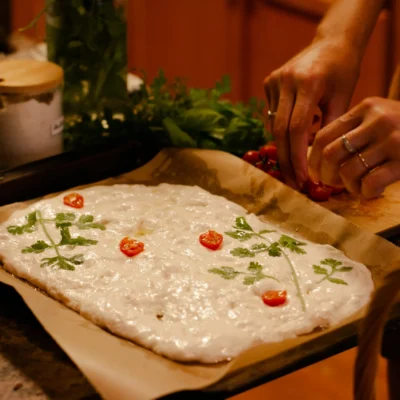
Long-Fermented Sourdough Focaccia
Focaccia bread is an Italian flatbread that is super simple to make. Because of the olive oil used in the bottom of the pan, the bread develops a beautiful crust that is crunchy yet soft as well as rich and buttery. Focaccia is my “go-to” bread (almost even more than bread loaves!) because it is so delicious, fast, easy and a crowd-pleaser.
Print Recipe
Equipment
- Rimmed sheet pan or non-stick rectangular pan (9×13-inch or 10×14-inch)
Ingredients
- 50 –70 g bubbly active sourdough starter (use a little more if the weather is cold)
- 375 g water
- 20 g honey optional
- 500 g bread flour or all purpose flour
- 9 g fine sea salt
- 2 –3 tbsp olive oil to coat the pan
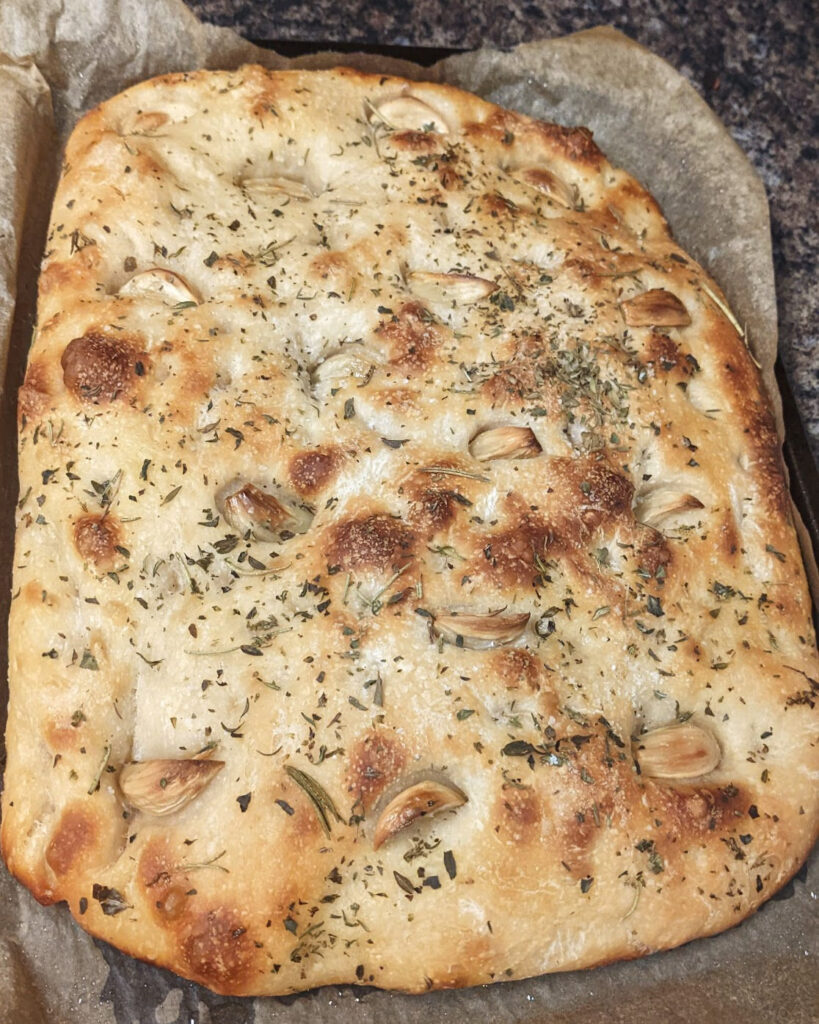
- Various Optional Toppings: garlic cloves rosemary, parsley, flaky seat salt, tomatoes, olives etc.
Instructions
- Account for how much time you need/have: focaccia bread is very flexible and can be made and baked in as few as 1 day (early morning until evening) or set in the fridge for 3-5 days and then baked within an hour or two before the time you need it. But you do need at least 1 day of total time to account for the bulk rise, second rise, and bake time.
- Recommended for the evening before you make your dough: feed your sourdough starter. See instruction for this here, or about 3-6 hours before starting your dough, add 60 g (1/4 cup) water and 60 g (1/2 cup) flour to your starter with a clean fork. Cover and let rest for a couple of hours (or overnight) until it’s bubbling and double in size.
- Make the Dough: whisk the sourdough starter, water and honey together in a large bowl. Add the flour and salt. Mix to combine and then finish by hand to form a rough dough. It will be wet and sticky. Cover and let rest for 30 minutes to an hour. Timing is flexible here. Then do the stretch and fold method the same way you would for the sourdough bread loaf.
- Bulk Rise: Cover the bowl of dough with an airtight lid or plastic wrap. Let the dough rise overnight at room temperature for about 12+ hours (if your house is colder than 65 degrees F, it may take up to 24 hours). The dough will double in size (or more) when ready. Note: if the weather is warmer than 70 F (20-21 C) the dough will rise faster than 12+ hrs. Please adjust your timeframes accordingly.
- At this point you have two options: 1) bake the focaccia immediately, or 2) long-ferment it to help break down the phytic acid and gluten in the flour even more (up to 95% at 3 days).
- To bake immediately: Second rise: pour 1-2 tbsp. of olive oil onto a rimmed sheet pan (I like to use parchment paper underneath so it’s not so messy). Use your hands to evenly coat the bottom and sides. With your oiled hands, remove the dough from the bowl onto the pan, and then flip it to coat both sides. Cover and let rest for 1 1/2- 2 hours or until puffy (I use an inverted sheet pan to cover the dough). Preheat your oven to 425 F (220 C). Note: if you want the dough to rise faster, place it in a warm spot, usually on top of the oven, while it preheats. The dough becomes soft and bubbly.
- If you baked immediately- skip this step. If you are long-fermenting your dough after step 3: take a dough scraper or even just your hands and fold the dough into a ball. Don’t be too specific, but you basically just want to get out the air bubbles/pockets (and there will be A LOT from the bulk rise) so that it looks like one lump of dough again. Cover the bowl again with either plastic wrap or an airtight lid, and let the dough sit in the fridge for up to 3 days (sometimes I have even let it sit for up to 5 or 6!). On the day you are ready to bake your focaccia bread, take it out of the fridge and follow step 4.
- Assemble the Focaccia: Right before baking, stretch out the dough a little bit more with your hands until it spans the majority of the pan. Then, gently dimple the dough with oiled fingertips. As you dimple, the dough will naturally begin to stretch outwards. You should end up with a rustic rectangular or oval shape, about 14 x 9-inches (36 x 23 cm) or larger. The dough won’t necessarily go all the way to the corners and sides of the sheet pan- this is OK.
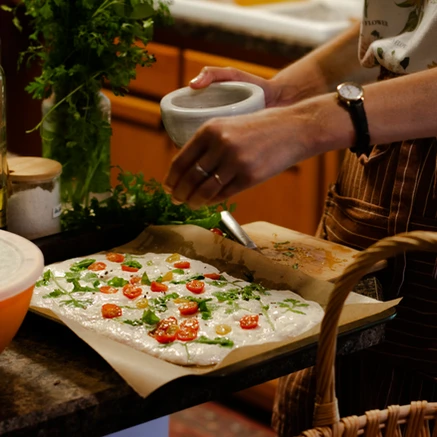
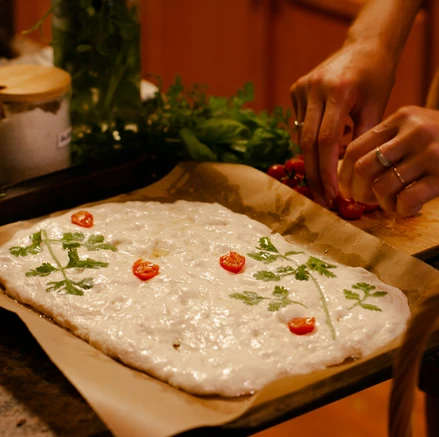
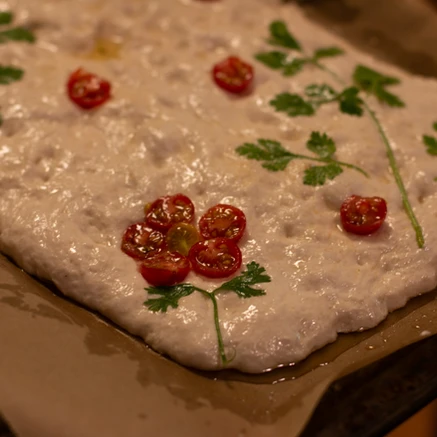
- Add Focaccia Toppings (optional): Press your preferred toppings into the dough. As the focaccia rises, the dough will puff up. The toppings will pop out if not properly anchored, so don’t be afraid to really stick them in the dough.
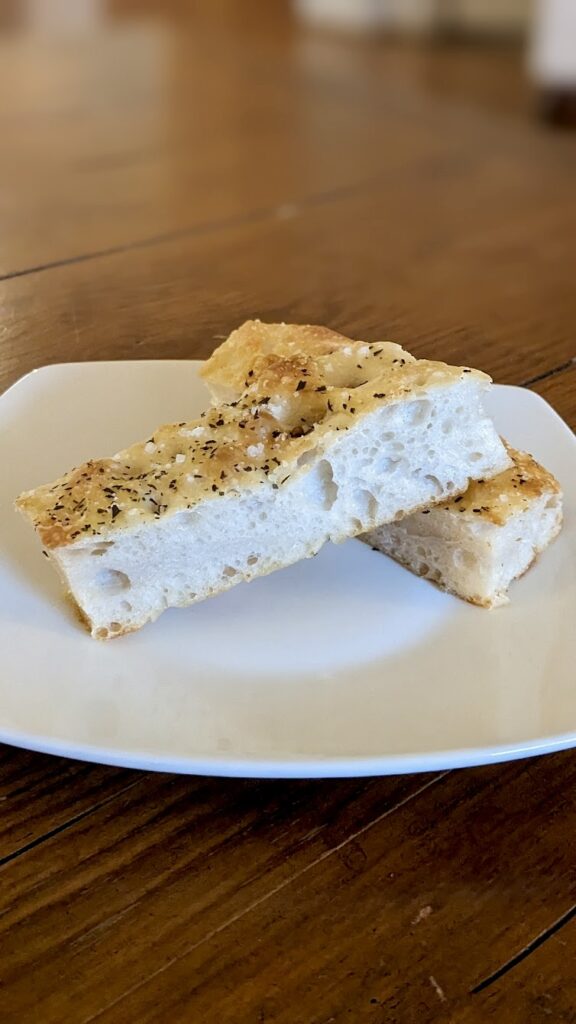
- Bake the Focaccia: Place the dough onto the center rack. Bake for 25-30 minutes or until crisp and golden brown. Remove from the oven and cool on a wire rack before cutting.
- TIP: To par-bake focaccia dough if serving later in the day: Bake for approximately 15-18 minutes @ 425 F (220 C). The crust will be set, very pale in color and golden underneath. Remove the focaccia from the pan and cool on a wire rack. Once completely cool, wrap in plastic wrap and store at room temperature for up to 6 hrs. To finish, return to the pan and bake for 12-15 minutes.
- To serve, cut the focaccia into wedges or squares and enjoy warm!
Notes
Bread vs All Purpose Flour: You can use either bread flour or all purpose flour to make sourdough focaccia. Comparatively, bread flour yields a slightly chewier focaccia with a higher rise. All purpose flour creates a more tender focaccia. So it really depends on what you want. I generally recommend King Arthur flour regardless of which type you choose.
Important note to make your life easier: the ingredients and measurements for my long-fermented sourdough bread recipe are the exact same as this focaccia recipe (with the addition of honey). So what I like to do is double my dough (aka 1000g flour to 750g water to 100g sourdough starter, etc). After the bulk rise (leaving it to prove overnight- step 3), I will process half of the dough into an artisan loaf and the other half I will just keep in the same bowl it rose in and place it in the fridge for 3 days until I’m ready to bake it. See the instructions below for a more detailed explanation of this.


The long fermented sourdough is a lovely bread, and I have a question. I use two parts organic strong bread flour mixed with about one part gluten free bread flour. I usually add some physilium husk in case it turns out a bit crumbly. After two days in the fridge during which time it has risen well, it starts to collapse. I bake at the end of the third day so it’s had 2 and 1/2 dats in fridge not 3. It does rise again somewhat in the oven – but I wonder if it could be better? What am I doing to make it collapse? Thank you for any thoughts on this.
Sorry Some mistakes in my post – I leave in fridge for 2 and half days, not 3 and half. Dough starts to collapse after 2 days. I would bake earlier but cant tolerate gluten. Thanks.
Hi Jood,
I usually only use bread flour for the 3 day fermentation, which then makes it about 95% gluten-free. I haven’t tried using half gluten free bread flour, but my guess is that it collapses because it’s overproved. So if you can bake it at 2 days since it is already made with half gluten-free flour, hopefully you’ll be able to tolerate it since the phytic acid and gluten is breaking down even in those two days. Hope that helps and feel free to reach out with any more questions!