Farmhouse Pantry Makeover
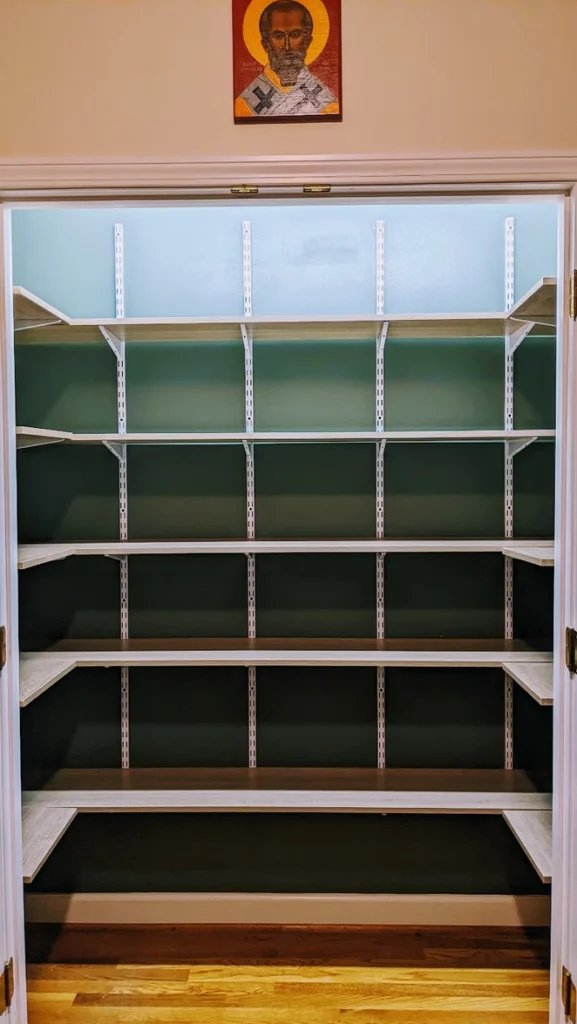
It’s time for a farmhouse pantry makeover. Moving into our new home, there are so many things that we absolutely love about our house. It’s cozy, definitely farmhouse-y, and the perfect size for us. However, two of the first areas we have had plans to change are the kitchen and the pantry. The kitchen project will probably happen much later because it’s functional for now (just don’t mind the actually-cute but super outdated 1980’s wallpaper runner next to the ceiling). On the other hand, we knew that the pantry would basically need to be done ASAP because food is more or less at the center of most things we do. It took us around 3 days to complete, and I loved working on this project with my husband. Here are the before photos to show you what we were working with.


As you could see, our main complaints we were hoping to change were:
- short half shelves
- unnecessary outlets
- not enough shelves
- kind of uninteresting and basic
Steps We Took for our Farmhouse Pantry Makeover
- Remove old shelving (floors were in great shape so nothing needed there)
- Patch up unnecessary TV outlets
- Take all the measurements and buy all the stuff
- Tape to prep for painting
- Paint!
- Install shelving
- Organize and thrift for baskets
Tools and Supplies
- 5 Organic Ash 12X72 in shelves
- 4 Organic Ash 12X48 in shelves
- 7 Rubbermaid 70 in. White twin track shelving tracks
- 35 Rubbermaid White Track brackets
- 1Gallon Sherwin-Williams Pewter Green paint
- All the other stuff need for paint and installation, like brushes, tape, nails, screws, etc.


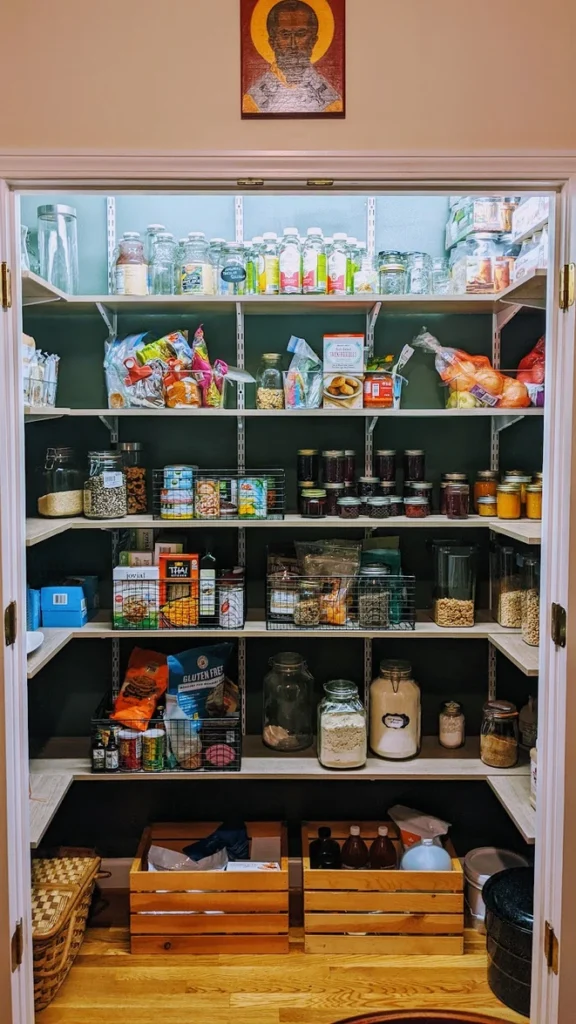
Here’s what it looks like now!
Major facelift! The shelving is not ombre, it just doesn’t capture very well in the photos. Hope you enjoyed the farmhouse pantry makeover!
